Short-form video has changed how we tell stories. Instagram Reels, YouTube Shorts, and vertical vlogs are no longer casual side content. For creators, founders, marketers, and everyday storytellers, they are often the main stage. The difference between an average Reel and one that holds attention for 20 seconds straight usually comes down to one thing: stability.
A smartphone camera today can shoot 4K, handle decent dynamic range, and even simulate shallow depth of field. But without stable movement, even the sharpest footage feels amateur. That is where a smartphone gimbal becomes more than a gadget. It becomes a storytelling tool.
This guide goes deep into how to use a smartphone gimbal effectively for Instagram Reels and vlogging. Not just how to turn it on, but how to think with it. How to move. How to frame. How to shoot content that feels intentional and polished.
What a Smartphone Gimbal Actually Does (And Why It Matters)
At its core, a smartphone gimbal is a motorized stabilizer. It uses brushless motors and internal sensors to counteract unwanted hand movement. When you walk, your hands naturally sway. When you turn, your wrists rotate. The gimbal reads that movement in real time and corrects it.
But the real value is not just “less shake.” It is controlled movement.
For Reels and vlogs, movement is part of the language. A smooth push-in creates anticipation. A subtle pan introduces a space. A follow shot builds immersion. Without stabilization, these moves are jerky and distracting. With a gimbal, they feel cinematic.
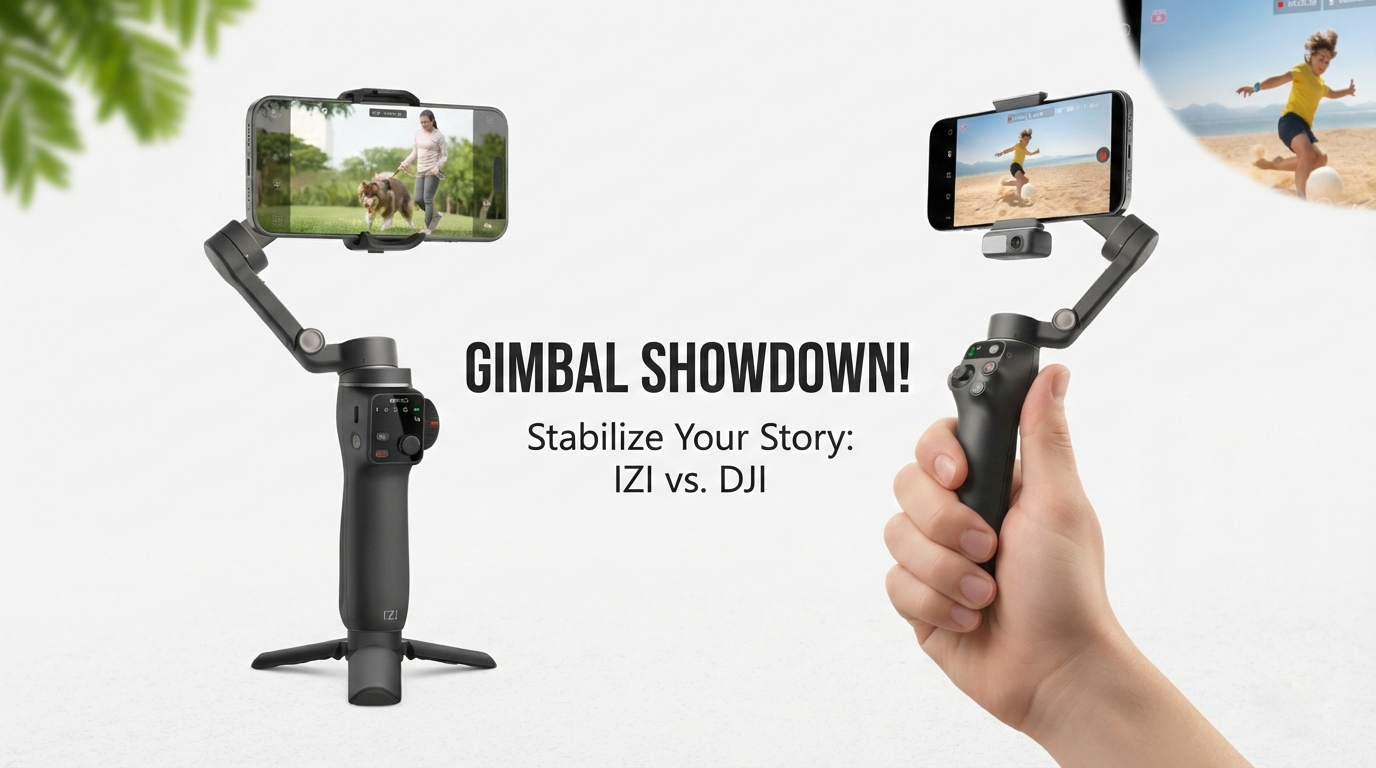
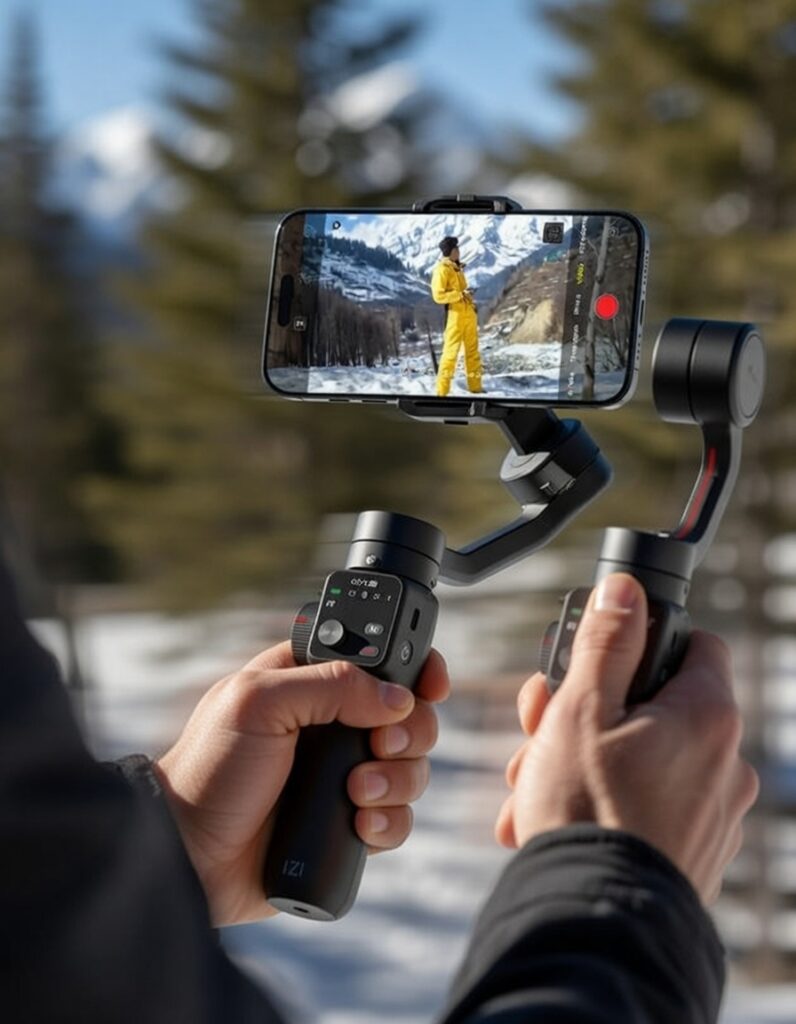
Modern gimbals from brands like DJI and IZI are designed specifically for smartphone creators. They are compact, lightweight, and come with intelligent shooting modes that simplify complex camera moves.
The key is learning to use those features intentionally instead of relying on them blindly.
Choosing the Right Gimbal for Reels and Vlogging
Not every gimbal fits every creator. Your choice should depend on your shooting style.
If you primarily shoot Instagram Reels indoors, in cafes, at home, or in small studios, portability and quick setup matter most. A foldable gimbal that fits in a sling bag makes a difference. Many creators lean toward compact models in the DJI Osmo Mobile lineup or comparable lightweight IZI smartphone gimbals that prioritize balance and fast mounting.
If you vlog outdoors, travel frequently, or shoot walking commentary videos, battery life and motor strength become more important. Heavier phones, especially with clip-on microphones or lenses, require stronger motors to maintain stability.
Do not overlook ergonomics. If you are filming daily, comfort matters. A poorly balanced grip leads to wrist fatigue, and that shows in your footage.
When selecting a gimbal, consider:
- Payload capacity relative to your phone and accessories
- Battery life for long shooting sessions
- Built-in tripod for static shots
- App features like object tracking and motion timelapse
The tool should support your workflow, not complicate it.
Understanding Gimbal Modes for Creative Control
Most smartphone gimbals offer multiple stabilization modes. Many creators never go beyond the default setting. That is a missed opportunity.
Pan Follow Mode
This is the most beginner-friendly setting. The gimbal follows horizontal movement but keeps vertical tilt locked. It works well for walking shots, side-to-side reveals, and natural vlog movement.
For Instagram Reels, this mode feels organic. It stabilizes your steps while preserving intentional pans.
Follow Mode (Pan + Tilt)
In this mode, the gimbal follows both horizontal and vertical movement. It is useful when tracking subjects that move unpredictably, like pets, children, or street scenes.
If you are shooting travel Reels where you tilt up from the ground to reveal architecture, this mode gives fluidity without rigidity.
Lock Mode
Lock mode keeps the camera pointed in a fixed direction regardless of how you move the handle. This is ideal for dynamic walking shots where you want the environment to move around a stable subject.
Use this for dramatic push-ins toward a doorway, signboard, or person.
FPV Mode
FPV (First Person View) allows full rotational freedom, mimicking action camera movement. For energetic Reels with fast transitions or creative spins, this adds intensity.
However, use it thoughtfully. Too much rotation can feel chaotic.
Understanding these modes allows you to choose the right visual language for each scene.
Shooting Instagram Reels with Intentional Movement
Instagram Reels are vertical. That alone changes how you think about composition.
Frame for Vertical, Not Cropped Horizontal
Always switch your gimbal to vertical orientation rather than shooting horizontal and cropping later. Vertical framing forces you to think about top-to-bottom composition.
Foreground elements become more important. Leading lines work differently. Doorways, staircases, and streets often look more immersive when framed vertically.
Master the Push-In
A slow forward movement toward your subject builds anticipation. This works beautifully for product reveals, outfit showcases, or café aesthetics.
To execute properly:
- Start slightly wider than needed.
- Keep elbows close to your body.
- Walk heel-to-toe to minimize vertical bounce.
Let the motors do their job. Do not overcorrect with your wrists.
Add Parallax for Depth
Parallax happens when foreground and background move at different speeds. It adds depth and makes short clips feel cinematic.
Move sideways while keeping your subject centered. Trees, walls, or railings in the foreground create layered motion.
This technique alone can elevate basic Reels into something more immersive.
Vlogging with a Gimbal: Beyond Stability
Vlogging is about presence. Stability is only part of the equation. The goal is to make the viewer feel like they are walking with you.
Eye-Level Framing
Keep the camera slightly above eye level and angled down gently. This is flattering and keeps your background visible.
Avoid holding the gimbal too low. Low angles distort facial features and feel less conversational.
Maintain Consistent Distance
Your face should occupy roughly one-third of the frame vertically in a talking-head vlog. Too close feels invasive. Too far disconnects the audience.
Lock in your framing early and maintain it. Constant reframing mid-sentence distracts viewers.
Let the Environment Breathe
Not every shot needs to be a moving shot. Use the built-in tripod for static segments. For example, when explaining something important, set the gimbal down for a steady, eye-level frame.
Alternating between moving and static shots improves pacing and retention.
Intelligent Tracking: Useful but Not Foolproof
Many smartphone gimbals from DJI and IZI include subject tracking through their companion apps. The gimbal automatically follows your face or selected object.
This is helpful for solo creators filming themselves without assistance. However, tracking works best in well-lit environments with clear subject contrast.
Use it for:
- Fitness Reels where you move across the frame
- Cooking videos where you shift positions
- Solo vlogs with dynamic movement
But avoid relying on it in crowded scenes. If the app loses your face and jumps to another subject, the footage becomes unusable.
Think of tracking as an assistant, not a replacement for composition awareness.
Walking Technique: The Invisible Skill
The gimbal stabilizes rotation, not your vertical body movement. If you walk normally, you still introduce bounce.
Use the “ninja walk” technique:
- Bend knees slightly
- Step heel-to-toe
- Keep upper body steady
- Move slowly and deliberately
Practice this without recording. Your body control improves over time.
Professional videographers rely on body mechanics as much as equipment.
Lighting: The Silent Multiplier
Even the best stabilization cannot fix poor lighting.
For Reels and vlogs, prioritize:
- Facing natural light sources
- Avoiding harsh overhead shadows
- Shooting during golden hour outdoors
If you shoot indoors frequently, consider a small LED light mounted on the gimbal. Ensure it does not exceed the gimbal’s payload limit.
Balanced lighting enhances skin tones, improves detail, and makes your footage look more expensive.
Audio: The Often-Ignored Factor
A stable video with bad audio still feels amateur.
When vlogging outdoors, use a lightweight wireless microphone. Ensure the receiver does not unbalance your gimbal. Many creators attach the receiver near the phone mount to maintain center weight.
Clean audio keeps viewers engaged longer, which directly impacts Reel performance metrics.
Creative Moves That Work Especially Well on Reels
Here are a few movement styles that consistently perform well:
Reveal Shot
Start behind a wall or object and slide sideways to reveal your subject.
Low-to-High Tilt
Begin at ground level and tilt upward slowly to reveal a building or person.
Orbit Shot
Circle around your subject smoothly. This works beautifully for product showcases.
Hyperlapse
Use the hyperlapse mode for fast-moving city transitions. Keep movement linear for cleaner results.
When done thoughtfully, these moves feel professional without being flashy.
Common Mistakes That Ruin Otherwise Good Footage
Even experienced creators make these errors:
Overusing fast pans. Rapid movement reduces watch time because it feels chaotic.
Ignoring background clutter. Stabilization makes everything clearer, including distractions.
Forgetting to balance the phone properly before powering on. Poor balancing strains motors and causes micro jitters.
Relying entirely on app effects. Filters cannot compensate for weak composition.
If your footage feels “off,” review these basics before blaming the gear.
Editing for Maximum Impact
Gimbal footage gives you smooth clips, but editing shapes the story.
For Instagram Reels:
- Keep clips short and dynamic
- Cut on movement for seamless transitions
- Use subtle speed ramps for emphasis
Avoid excessive transitions. Let camera movement serve as the transition.
For vlogs:
- Mix wide shots with close-ups
- Include environmental cutaways
- Maintain rhythm between talking and B-roll
Smooth footage allows cleaner cuts and more professional pacing.
When Not to Use a Gimbal
There are moments when handheld feels more authentic.
If you are filming a spontaneous reaction or fast-paced street interaction, slight handheld motion can add energy.
The goal is not to eliminate movement but to control it.
Choose the tool based on emotion. Stability for calm storytelling. Controlled motion for cinematic reveals. Slight handheld for urgency.
Long-Term Skill Development
Owning a smartphone gimbal is easy. Mastering it takes practice.
Spend time analyzing high-performing Reels in your niche. Notice how creators move. Observe pacing. Look at how long shots last before cutting.
Then replicate those techniques with intention.
Over time, movement becomes intuitive. You stop thinking about the gimbal and start thinking about story.
That is when your content shifts from stable to compelling.
Conclusion
A smartphone gimbal is not just a stabilizer. It is a storytelling extension of your hands.
For Instagram Reels and vlogging, smooth movement increases professionalism, improves viewer retention, and enhances brand perception. But hardware alone is not enough. Understanding composition, lighting, pacing, and movement transforms basic clips into immersive content.
Whether you choose a model from DJI or an IZI smartphone gimbal tailored for mobile creators, the real upgrade happens when you combine technical control with creative intent.
Stability earns attention. Intentional movement keeps it.
FAQs: Smartphone Gimbal Tips for Instagram Reels & Vlogging
1. Do I really need a smartphone gimbal for Instagram Reels?
Not always, but if you shoot walking shots, product reveals, or cinematic transitions, a gimbal dramatically improves stability and professionalism.
2. Can I rely only on my phone’s built-in stabilization?
Digital stabilization helps, but it crops the frame and struggles with larger movements. A gimbal provides mechanical stability, which looks more natural.
3. Is a gimbal useful for indoor shooting?
Yes. Indoor lighting is often lower, which can introduce motion blur. Stabilization helps maintain clarity in these conditions.
4. How do I prevent vertical bounce while walking?
Use a heel-to-toe walking style with slightly bent knees. The gimbal stabilizes rotation, not vertical movement.
5. Should I always shoot in 4K for Reels?
4K provides flexibility for cropping and sharper output, but ensure your phone handles it well in terms of storage and processing.
6. Can I attach a microphone to my phone while using a gimbal?
Yes, as long as the combined weight does not exceed the gimbal’s payload limit and balance is maintained.
7. What is the best mode for vlogging while walking?
Pan Follow mode works best for most walking vlogs, offering smooth horizontal tracking without overreacting to vertical movement.
8. Do tracking features work in low light?
Tracking performs best in well-lit environments. In low light, detection accuracy decreases.
9. How long does it take to get comfortable using a gimbal?
Most users adapt within a few days, but mastering creative movement can take weeks of consistent practice.
10. Can a gimbal make my content look cinematic instantly?
It improves stability instantly, but cinematic quality comes from composition, lighting, pacing, and storytelling combined.